

A while back I started adding camera settings to each of my photos so that you, the viewer, might have an idea of what settings go into different photos. I didn’t add the actual camera type but also have added that as I use two different cameras, one with a full frame sensor and one with a crop sensor. This is important to note since it affects the effective focal length of the lens. So if I shoot at 500 mm with a full frame camera such as the Canon 5D Mark IV (5d4), then the effective focal length is 500mm. But if I use a Canon 7D Mark II (7d2) which as a crop sensor, the the effective focal length is 800mm (500mm lens times 1.6 crop factor = 800mm). With that all said, here is some other information about the settings you might see, and not see, included with the images I post. Keep in mind, camera settings used are all part of the creative process of photography. These aren’t rules but are simply settings I use to get the results I desire.
Shooting Mode. Digital cameras today can shoot in RAW or JPG modes, or both. JPG mode applies various settings to the photo and processes the RAW file into a JPG. RAW files are unprocessed photos. I don’t include this information in my shooting details because I always shoot in RAW mode. As a photographer, I don’t believe a microchip in a camera has the ability to make the decisions to create the photograph as the scene is presented before me, so I want total control over the final image.
White balance. I started my photography journey in the age of film. With film, what is now called white balance in digital cameras was controlled by the use of filters. Today, white balance can be set either in camera or adjusted at home on the computer if the photographer shoots in RAW mode. I leave this setting on auto and then make adjustments to the RAW file on the computer in order to get the best white balance for the scene. This saves time in the field, especially when shooting in rapidly changing light.

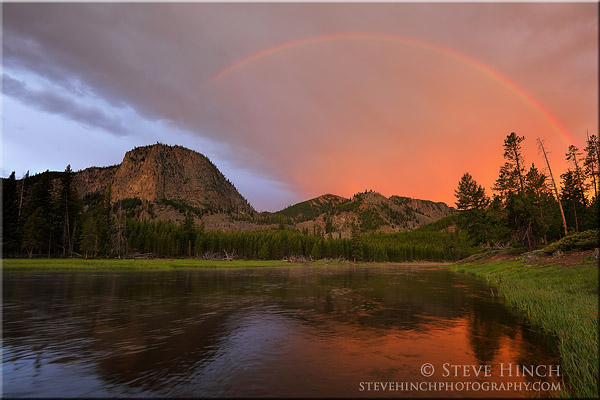
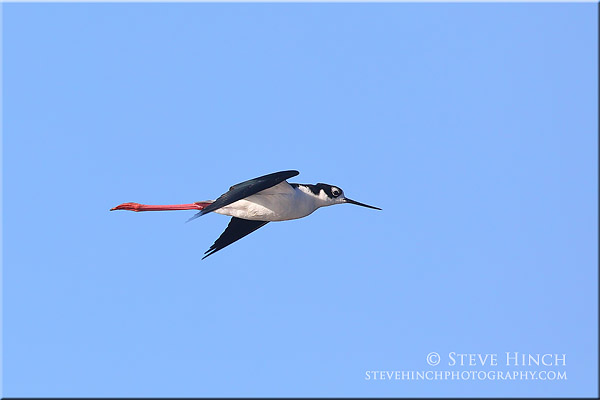
Metering. The third setting I don’t post on my photos is the metering mode. I don’t post it because I have one rule that I tend to follow in most situations. When photographing wildlife, first and foremost I want the animal to be correctly exposed and the background is secondary. So for wildlife, whether it’s birds or mammals or anything else, I will meter off my subject and either adjust to overexpose (for white or bright subjects) or underexpose (for dark subjects) accordingly. One the flipside, for landscapes I almost always use evaluative metering, which bases the exposure on the whole scene. I will still adjust the exposure to under or over depending on what I am seeing but using this setting allows me to have a more even exposure across the whole photo. That’s it for now, I’ll do a follow up post down the road.
